Introduction
There is something truly magical about baking Christmas cookies. The sweet aroma of butter, vanilla, and freshly baked dough fills the kitchen with warmth, bringing back beautiful memories of family gatherings, decorated Christmas trees, and trays of homemade treats shared with loved ones.
These Classic Christmas Butter Cookies are the kind of cookies that become a holiday tradition year after year. They are simple to prepare, made with everyday ingredients, and full of rich, buttery flavor. Their delicate sweetness, tender centers, and lightly golden edges make them perfect for Christmas parties, cookie exchanges, dessert tables, and homemade gifts.
It is easy to understand why these cookies are so popular during the holiday season. You can prepare a large batch without complicated techniques, decorate them with colorful sprinkles, or enjoy them just as they are. Whether you bake a few dozen for your family or hundreds to share with friends and neighbors, these festive cookies are always a welcome addition to the Christmas table.
Ingredients
Preparation: 20 minutes · Chilling: 30 minutes · Baking: 10–12 minutes per batch · Makes approximately 36–48 cookies

For the cookie dough
- 1 cup (227 g) unsalted butter, softened
- 1 cup (200 g) granulated sugar
- 1 large egg
- 2 teaspoons vanilla extract
- 2½ cups (315 g) all-purpose flour
- ½ teaspoon baking powder
- ¼ teaspoon salt
- 1–2 tablespoons milk, only if needed

For decorating (optional)
- Red and green sugar sprinkles
- Colored sanding sugar
- Melted white or dark chocolate
- Royal icing or simple powdered-sugar icing
- Festive Christmas-shaped cookie cutters
Instructions
Step 1: Prepare the kitchen
Preheat your oven to 350°F (175°C). Line two baking sheets with parchment paper to prevent sticking and encourage even baking.
Measure all the ingredients before beginning. Make sure the butter is softened enough to press easily with a finger but is not melted. Softened butter helps create a smooth dough and gives the cookies their wonderful texture.
Step 2: Cream the butter and sugar
Place the softened butter and granulated sugar in a large mixing bowl. Beat with an electric mixer for about 2–3 minutes, until the mixture becomes creamy, pale, and fluffy.
This step is important because it incorporates air into the mixture and helps produce cookies with a tender texture.
Step 3: Add the egg and vanilla
Add the egg and vanilla extract to the creamed butter mixture. Beat until everything is thoroughly combined, scraping down the sides of the bowl when necessary.
The vanilla adds a warm, sweet aroma that makes these cookies especially inviting during the Christmas season.
Step 4: Combine the dry ingredients
In a separate bowl, whisk together the flour, baking powder, and salt.
Gradually add the dry ingredients to the butter mixture, mixing on low speed until a soft dough forms. Avoid overmixing, as excessive mixing can make the cookies tougher.
If the dough seems too dry or crumbly, add milk one teaspoon at a time until it comes together.
Step 5: Chill the dough
Divide the dough into two portions, flatten each into a disc, and wrap in plastic wrap. Refrigerate for approximately 30 minutes.
Chilling makes the dough easier to handle and helps the cookies retain their shapes while baking.
Step 6: Shape the cookies


Lightly flour your work surface and rolling pin. Roll the chilled dough to approximately ¼ inch (6 mm) thick.
Use Christmas cookie cutters to make stars, bells, trees, gingerbread-person shapes, snowflakes, or simple circles. Gather the scraps, gently reroll them, and continue cutting until the dough is used.
Alternatively, roll the dough into small balls and flatten them gently with a fork or the bottom of a glass.
Step 7: Decorate before baking
Place the shaped cookies about 1 inch apart on the prepared baking sheets.
If using colored sugar or sprinkles, gently press them onto the cookies before baking. For decorations made with melted chocolate or icing, wait until the cookies have cooled completely.
Step 8: Bake to perfection
Bake for 10–12 minutes, depending on the size and thickness of the cookies.
The cookies are ready when the edges are just beginning to turn light golden and the centers look set. They should not become deeply browned.
Remove the baking sheets from the oven and allow the cookies to rest for 5 minutes before transferring them to a wire rack.
Step 9: Cool and decorate

Allow the cookies to cool completely before adding icing or melted chocolate. Decorate them with festive colors, edible pearls, sprinkles, or delicate icing patterns.
Once the decorations have set, arrange the cookies on a serving platter or place them in holiday tins ready for sharing.
Methods for Perfect Christmas Cookies
1. The creaming method
Beat the butter and sugar until fluffy before adding the egg and dry ingredients. This traditional baking method helps create a delicate cookie texture and distributes the ingredients evenly.
2. The chilling method
Cold dough is easier to roll and cut. Chilling also helps prevent the cookies from spreading too much in the oven, particularly when making intricate Christmas shapes.
3. The gentle mixing method
Once the flour is added, mix only until the dough comes together. Overworking the dough can develop too much gluten, making the finished cookies less tender.
4. The small-batch baking method
Bake similar-sized cookies together so they finish at approximately the same time. Smaller cookies may bake faster than larger shapes, so watch them closely during the final minutes.
5. The decorating method
For a simple finish, use colored sugar before baking. For a more elaborate Christmas look, decorate cooled cookies with icing, chocolate, or festive sprinkles.
History of Christmas Cookies
Christmas cookies have a long history connected to winter celebrations, religious festivals, and family traditions. As spices, sugar, and other baking ingredients became more accessible in Europe, festive baked goods grew increasingly popular during the holiday season.
In parts of Europe, bakers prepared spiced biscuits and shaped cookies for winter celebrations. Over time, traditions involving gingerbread, shortbread, butter biscuits, and intricately decorated cookies spread through families and communities.
As baking traditions traveled to North America, Christmas cookies became an important part of holiday entertaining. Families developed their own signature recipes, exchanged homemade treats, and left cookies out for Santa Claus.
Butter cookies became especially beloved because of their straightforward ingredients and versatility. They can be rolled, cut into festive shapes, pressed through a cookie press, or decorated in countless ways.
Although this recipe is a modern, classic-style version rather than a documented historical family recipe, it captures the spirit of traditional holiday baking: simple ingredients transformed into something memorable.
Formation and Texture: What Makes These Cookies Special?
The success of these cookies comes from the balance of butter, sugar, flour, and egg.
- Butter provides richness, tenderness, and the characteristic buttery flavor.
- Sugar adds sweetness and helps the edges become lightly golden.
- Egg binds the ingredients together and contributes structure.
- Flour creates the framework that allows the cookies to hold their shapes.
- Baking powder provides a small amount of lift.
- Vanilla rounds out the flavor with a warm, sweet aroma.
When baked correctly, the cookies have lightly crisp edges, a delicate bite, and a tender center. They are sturdy enough to package as gifts but delicate enough to enjoy with a cup of coffee, tea, or hot chocolate.
Delicious Variations to Try

1. Chocolate-dipped butter cookies
Dip half of each cooled cookie into melted chocolate. Allow the chocolate to set before storing. A sprinkle of crushed peppermint makes them extra festive.

2. Festive iced cookies
Mix powdered sugar with a little milk and vanilla to make a simple icing. Add food coloring and decorate Christmas trees, stars, bells, and snowflakes.

3. Cinnamon-sugar cookies
Add ½ teaspoon ground cinnamon to the dry ingredients. Sprinkle the shaped cookies with cinnamon sugar before baking for a warm, cozy flavor.

4. Lemon butter cookies
Add 1–2 teaspoons of finely grated lemon zest to the butter and sugar mixture. The citrus gives the cookies a refreshing twist that balances their richness.
Tips for Making Hundreds of Cookies
If you plan to bake these cookies for a large family gathering, Christmas party, or holiday giveaway, a little preparation makes the job much easier.
- Make the dough ahead: Refrigerate it for up to 2 days, tightly wrapped.
- Freeze extra dough: Wrap well and freeze for up to 2–3 months. Thaw overnight in the refrigerator before rolling.
- Work in batches: Keep unused dough chilled while you roll and cut the first portion.
- Keep the baking sheets cool: Let hot sheets cool before adding the next batch, as warm trays can cause spreading.
- Store properly: Keep completely cooled, undecorated cookies in an airtight container at room temperature for about a week.
- Package with care: Use parchment between layers to protect decorated cookies during transport.
For a large gathering, you can double or triple the ingredients. When making a very large quantity, mix several manageable batches rather than overfilling a household mixer.
Serving and Presentation Ideas
These Christmas cookies are wonderful served on a large holiday platter alongside brownies, fudge, gingerbread, and other festive treats.
For thoughtful homemade gifts, arrange them in decorative tins, clear treat bags tied with red ribbon, or small boxes lined with parchment paper. Add a handwritten note or recipe card to make each package feel personal.
They are also perfect for cookie exchanges, school celebrations, church gatherings, office parties, and cozy evenings spent decorating cookies with children and grandchildren.
Serve them with hot chocolate, coffee, tea, or a cold glass of milk. For a beautiful dessert table, arrange the cookies by color and shape, mixing plain butter cookies with iced and chocolate-dipped varieties.
Common Mistakes to Avoid
- Using melted butter: This can cause the cookies to spread excessively.
- Skipping the chilling step: Warm dough is harder to handle and may lose its shape.
- Adding too much flour: Excess flour can make cookies dry and crumbly. Measure carefully.
- Overbaking: Butter cookies continue to firm up as they cool, so remove them when the edges are only lightly golden.
- Decorating while warm: Icing and chocolate may melt or slide off the cookies.
- Storing before cooling: Trapped steam can soften the cookies and affect their texture.
Conclusion
These classic Christmas butter cookies prove that a wonderful holiday treat does not need expensive ingredients or complicated instructions. With butter, sugar, flour, vanilla, and a little time, you can create a beautiful batch of homemade cookies that tastes every bit as special as the season itself.
Their buttery flavor, tender texture, and endless decorating possibilities make them ideal for holiday traditions, thoughtful gifts, and sharing with the people who matter most.
Whether you bake 36 cookies for a quiet family celebration or several hundred for a busy Christmas season, the secret is to prepare them with care and enjoy the process. Sometimes, the simplest recipes become the ones everyone remembers and requests year after year.
For the Love of Christmas Baking ❤️
The best part of these cookies is not just the taste. It is the happiness that comes from baking together, sneaking a cookie while the next tray is in the oven, decorating imperfect little snowflakes, and watching loved ones reach for seconds.
Make them with children, share them with neighbors, bring them to a holiday gathering, or save a special tin for visitors. Every batch is an opportunity to create memories that last long after the last cookie has disappeared.
A little butter, a little sugar, and a whole lot of Christmas love!
Final Baker’s Note
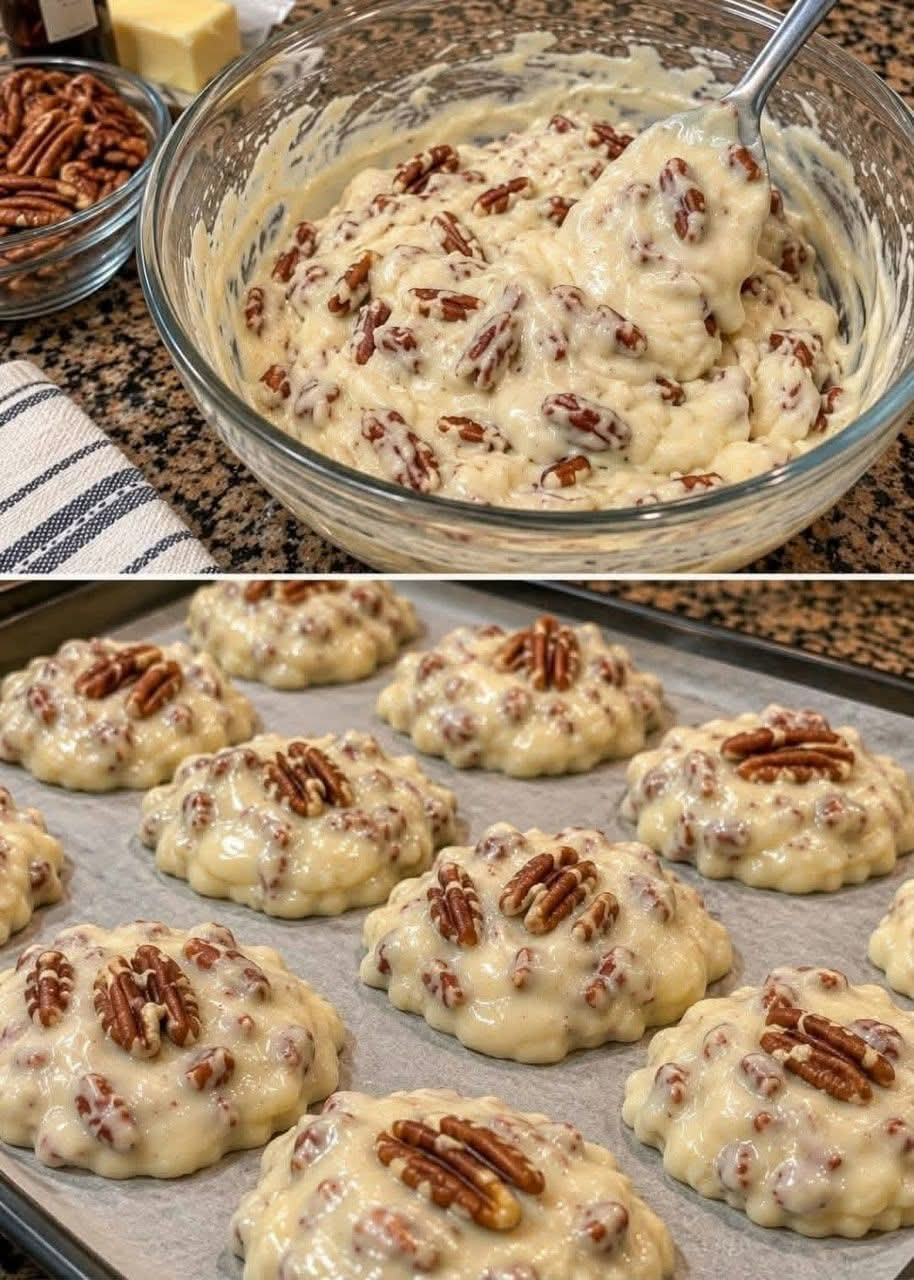
Because the original caption did not include the actual cookie name or ingredient list, this is a complete classic Christmas butter-cookie recipe inspired by the description, not a verified reconstruction of the original viral recipe.
Enjoy your baking, and may your kitchen be filled with the sweetest Christmas aromas! 🎄🍪