Introduction
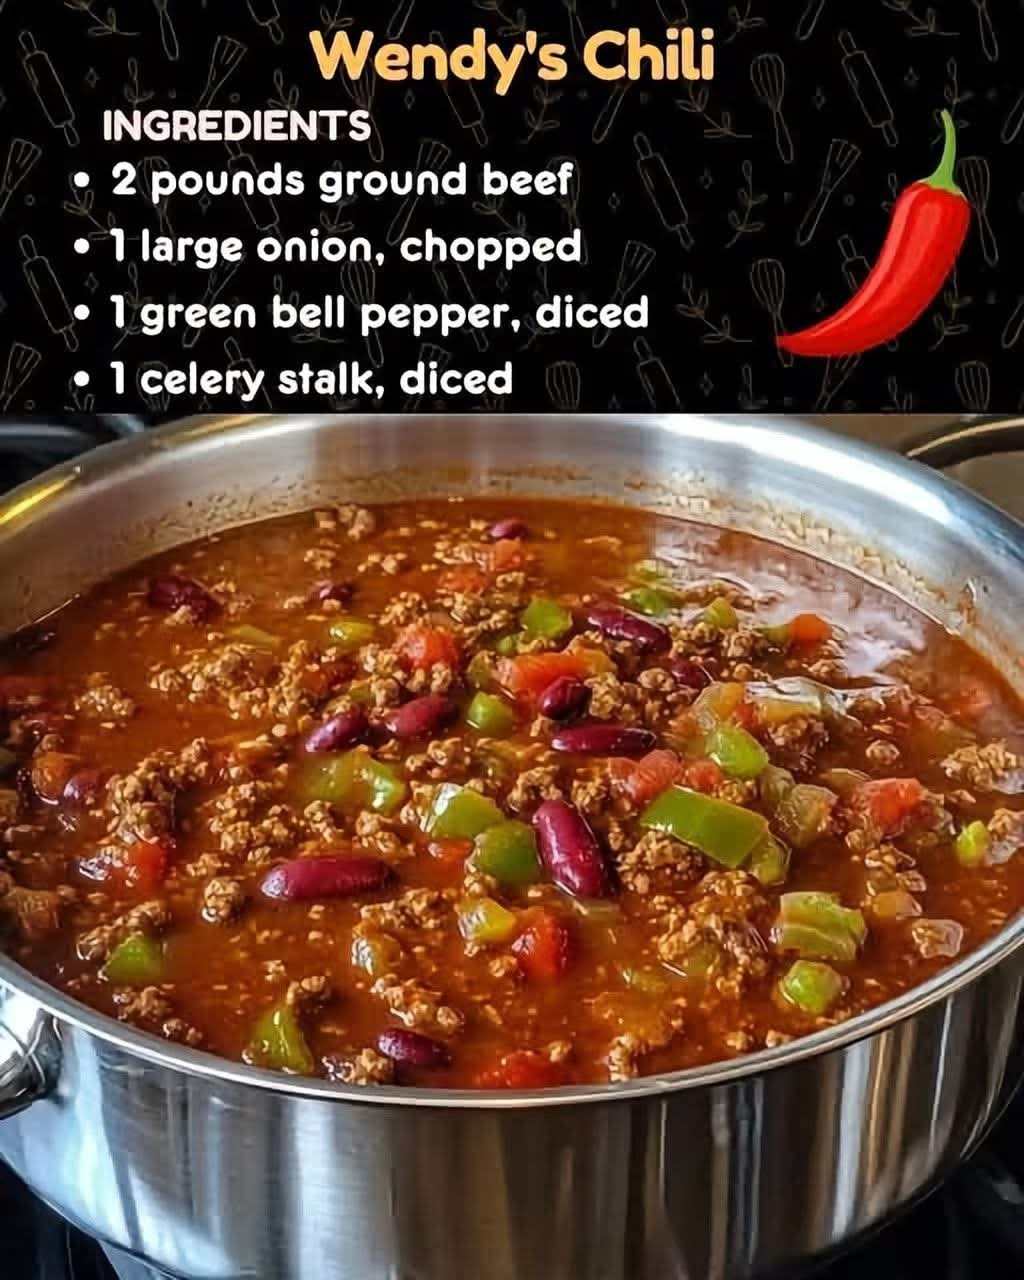
There is something special about a warm bowl of homemade chili, especially when it tastes just like your favorite restaurant version! This homemade Wendy’s Copycat Chili is hearty, comforting, flavorful, and packed with tender ground beef, beans, tomatoes, and the perfect blend of seasonings.
My teenage daughter used to spend way too much money buying Wendy’s chili during her shifts at work. One day, I decided enough was enough! I told her I could make a big pot at home that she could take with her.
Now she fills her thermos every morning before heading to Target, and she says she loves having homemade chili ready whenever she gets hungry.
It’s budget-friendly, makes plenty of servings, and tastes even better the next day!
Ingredients
- 2 pounds ground beef
- 1 medium onion, finely diced
- 2 stalks celery, chopped
- 1 green bell pepper, diced
- 2 cans (15 oz each) kidney beans, drained and rinsed
- 2 cans (15 oz each) pinto beans, drained and rinsed
- 2 cans (14.5 oz each) diced tomatoes
- 1 can (29 oz) tomato sauce
- 1 can (15 oz) tomato puree
- 2 cups beef broth
- 2 tablespoons tomato paste
- 2 tablespoons chili powder
- 1 teaspoon ground cumin
- 1 teaspoon garlic powder
- 1 teaspoon onion powder
- 1 teaspoon paprika
- 1 teaspoon sugar
- ½ teaspoon dried oregano
- ½ teaspoon black pepper
- 1 teaspoon salt, or to taste
- ½ teaspoon cayenne pepper (optional)
Instructions
1. Brown the beef: Place a large pot or Dutch oven over medium-high heat. Add the ground beef and cook until browned, breaking it apart with a wooden spoon. Drain excess grease if necessary.
2. Cook the vegetables: Add the diced onion, celery, and green bell pepper. Cook for approximately 5–7 minutes until softened.
3. Add the tomato ingredients: Stir in the tomato paste, tomato sauce, tomato puree, and diced tomatoes. Mix until everything is combined.
4. Add the beans: Pour in the kidney beans and pinto beans. Stir gently so the beans are evenly distributed.
5. Season the chili: Add chili powder, cumin, garlic powder, onion powder, paprika, sugar, oregano, salt, black pepper, and cayenne pepper.
6. Add the broth: Pour in the beef broth and stir everything together.
7. Simmer slowly: Bring the chili to a gentle boil, then reduce the heat to low. Cover partially and simmer for 1½–2 hours, stirring occasionally.
8. Adjust the consistency: If the chili is too thick, add a little broth. If it is too thin, allow it to simmer uncovered for another 10–15 minutes.
9. Taste and serve: Adjust the seasonings as needed. Let the chili rest for about 10 minutes before serving.
Cooking Methods
Stovetop method: This is the traditional method and gives you excellent control over the thickness and flavor. A slow simmer allows the beef, beans, tomatoes, and spices to blend beautifully.
Slow cooker method: Brown the beef and soften the vegetables first. Transfer everything to a slow cooker and cook on LOW for 6–8 hours or HIGH for 3–4 hours.
Make-ahead method: Prepare the chili the evening before, refrigerate it promptly, and reheat individual portions the following day.
A Little History of Chili
Chili con carne has a long history rooted in the food traditions of the American Southwest and Texas. Over generations, cooks developed countless versions using beef, peppers, tomatoes, beans, and spices.
Wendy’s popular chili became especially well-known as an affordable, comforting fast-food option. Its hearty texture and familiar tomato-and-bean flavor inspired many home cooks to create their own copycat versions.
This homemade recipe brings those familiar flavors into your own kitchen, with the added benefit of controlling the ingredients and making a large batch for the whole family.
Formation and Serving Suggestions
The secret to delicious chili is allowing enough time for everything to simmer together.
As the chili cooks, the ground beef absorbs the spices, the beans become tender, and the tomato broth thickens into a rich, savory sauce.
Serve it with:
- Shredded cheddar cheese
- A dollop of sour cream
- Chopped green onions
- Saltine crackers
- Warm cornbread
- Tortilla chips
- A little hot sauce
For an extra-special meal, serve it over a baked potato or spoon it over a hot dog.
Storage and Reheating
- Refrigerator: Store in airtight containers for up to 3–4 days.
- Freezer: Freeze in individual portions for up to 3 months.
- Stovetop: Reheat gently, stirring occasionally, until steaming hot.
- Microwave: Heat in a microwave-safe container, stirring halfway through.
For your daughter’s work thermos, preheat the insulated thermos with boiling water for a few minutes, empty it, and immediately fill it with piping-hot chili. Keep it closed until lunchtime and follow food-safety guidance for insulated food containers.
Why Everyone Loves This Recipe ❤️
- Affordable ingredients that make a generous batch.
- Thick, hearty, restaurant-inspired flavor.
- Easy to prepare ahead of time.
- Perfect for lunchboxes and work thermoses.
- Freezer-friendly for busy weekdays.
- Even more flavorful after resting overnight.
Conclusion
Sometimes the best restaurant meals are the ones we learn to recreate at home.
Instead of spending money on chili every day, my daughter now gets to enjoy a warm, homemade lunch while saving money. One big pot can provide several delicious meals, and everyone can customize their bowl with their favorite toppings.
It’s simple, filling, comforting, and made with love!
For the Chili Lovers! 🍲
If you’re a true chili lover, this recipe deserves a place in your regular dinner rotation. Whether you’re making it for your children, preparing lunches for work, feeding a hungry family, or bringing a big pot to a gathering, this homemade chili is always a welcome treat.
A little bowl of homemade comfort can make even an ordinary workday feel special!
And if you love thick, hearty, homemade chili, leave a simple “YUM”! ❤️