
Introduction
If you’re looking for a simple, delicious, and irresistible Christmas treat, these homemade Butterfinger Balls are just what you need! With their creamy peanut butter center, crunchy Butterfinger candy pieces, and smooth chocolate coating, these little treats deliver the perfect combination of sweet, salty, crunchy, and chocolatey goodness.
These candies are a favorite for Christmas parties, holiday cookie trays, family gatherings, bake sales, and homemade edible gifts. Best of all, they require no oven and use simple ingredients that are easy to find.
It’s easy to understand why someone would make 100 or more every Christmas! They are bite-sized, easy to share, and so delicious that one is rarely enough. Make a big batch, arrange them in festive candy boxes, and watch them disappear from the dessert table.
Ingredients
Yield: approximately 40–50 balls, depending on size. Double or triple the recipe for a Christmas batch of 100 or more.

For the Butterfinger filling
- 1 cup creamy peanut butter
- 4 tablespoons unsalted butter, softened
- 2 cups powdered sugar
- 1 teaspoon vanilla extract
- 1 cup crushed Butterfinger candy bars, about 3–4 standard bars depending on size
- 1–2 tablespoons finely crushed graham crackers, optional, if the mixture needs extra firmness

For the chocolate coating
- 2 cups milk chocolate melting wafers or chocolate chips
- 1 teaspoon coconut oil or shortening, optional, to thin the chocolate
- Extra crushed Butterfinger candy for garnish, optional
Instructions
Step 1: Prepare the Butterfinger candy
Place the Butterfinger candy bars in a sealed food bag and gently crush them with a rolling pin. Aim for a mixture of fine crumbs and small crunchy pieces. The larger pieces add that wonderful crisp texture that makes these candies special.
Set aside a small spoonful of crushed candy for decorating the finished balls, if desired.
Step 2: Make the peanut butter mixture
In a large mixing bowl, combine the softened butter and creamy peanut butter. Mix until smooth and creamy.
Add the vanilla extract and gradually mix in the powdered sugar. Stir until a thick dough forms.
Fold in the crushed Butterfinger pieces until they are evenly distributed throughout the mixture. If the filling feels too soft to roll, add a little more powdered sugar or the optional crushed graham crackers.
Step 3: Shape the balls
Scoop out approximately one tablespoon of the mixture at a time. Roll each portion between your palms to form a smooth ball.
Place the balls on a parchment-lined baking sheet, leaving a little space between each one.
Continue until all the mixture has been used. Try to keep the balls roughly the same size so they chill and set evenly.
Step 4: Chill until firm
Place the baking sheet in the refrigerator for 45–60 minutes, or until the balls feel firm enough to dip.
This step is important because chilled balls hold their shape better when covered in warm chocolate.
Step 5: Melt the chocolate
Place the chocolate melting wafers in a microwave-safe bowl. Heat in 20–30 second intervals, stirring after each interval until the chocolate is smooth.
If necessary, stir in a teaspoon of coconut oil or shortening to make the chocolate easier to dip.
Avoid overheating the chocolate, as it can become thick or grainy.
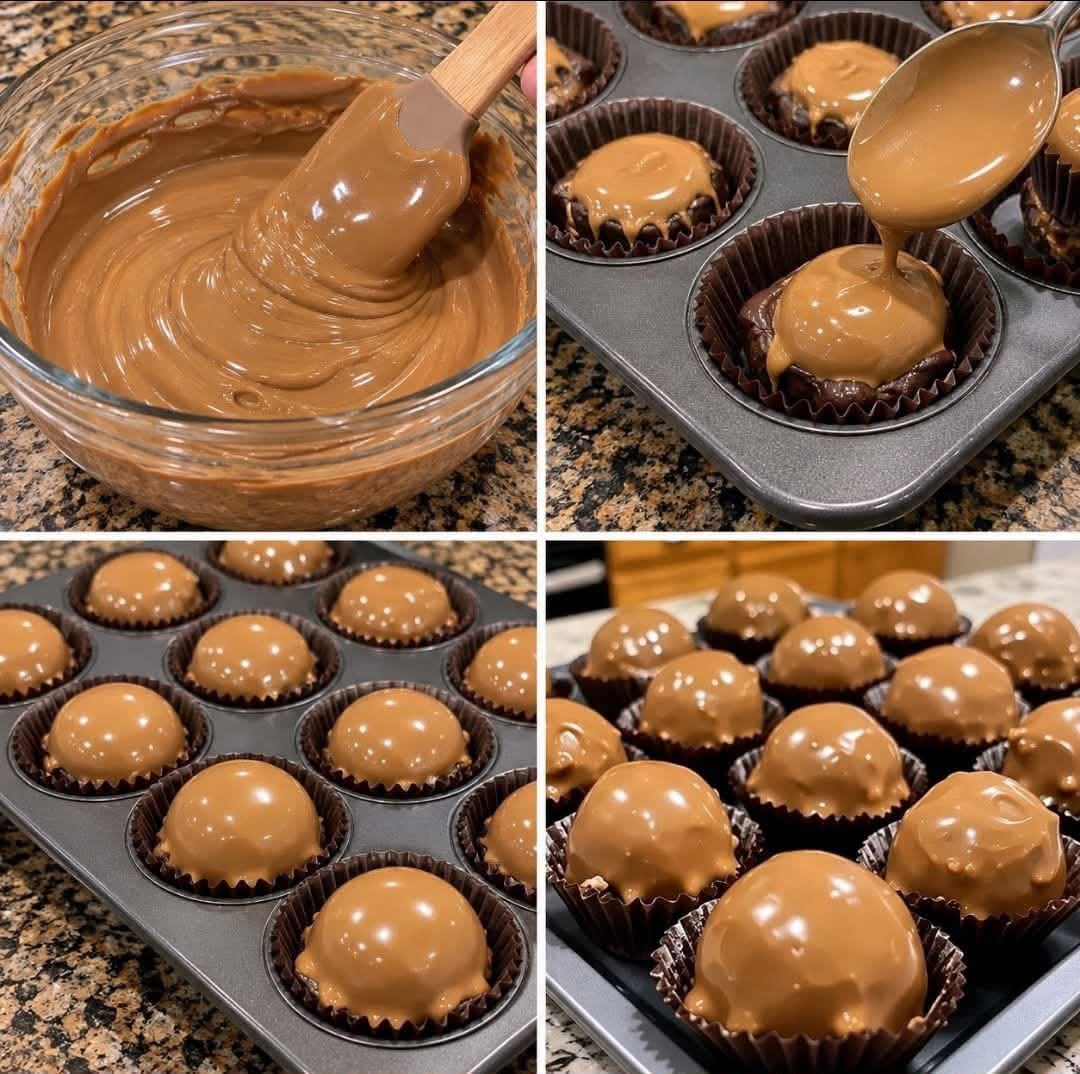
Step 6: Dip each ball in chocolate
Using a fork or dipping tool, lower one chilled ball into the melted chocolate. Turn it gently until completely coated.
Lift it out, allowing the excess chocolate to drip back into the bowl. Place it on the parchment-lined baking sheet.
Repeat with the remaining balls. Sprinkle a little crushed Butterfinger over the top before the chocolate sets, if desired.
Step 7: Let the chocolate set
Refrigerate the dipped candies for 20–30 minutes, or until the chocolate coating has hardened.
Once set, transfer the Butterfinger Balls to an airtight container. Keep them refrigerated until ready to serve.
Methods of Preparation

1. Mixing method
Blend the peanut butter, butter, powdered sugar, vanilla, and crushed candy until the filling is thick enough to shape. Add the dry ingredients gradually for better control over the texture.

2. Shaping and chilling method
Roll the mixture into evenly sized balls and chill them before dipping. Cold centers make the coating process much easier and neater.

3. Chocolate-coating method
Dip each chilled ball in smooth melted chocolate. Allow the excess to drip away for a thin, even shell that complements the crunchy filling.

4. Setting and storing method
Refrigerate until the chocolate is firm, then store the candies in an airtight container. Separate layers with parchment paper to prevent sticking.
A Little History of Butterfinger Treats
Butterfinger candy bars became known for their distinctive crisp, flaky peanut butter center covered in chocolate. Their unusual texture and sweet peanut butter flavor have made them a popular ingredient in homemade desserts for generations of candy lovers.
Home cooks have long used chopped candy bars in cookies, brownies, ice cream desserts, fudge, and no-bake candies. Butterfinger Balls are a creative variation on the traditional chocolate-covered peanut butter confection, combining crushed candy with a soft peanut butter filling.
Although this particular recipe is a homemade variation rather than the original Butterfinger candy-making process, it captures the familiar flavors in a convenient, bite-sized Christmas treat.
Formation: How the Perfect Butterfinger Balls Come Together
The magic of this recipe comes from the contrast between three textures.
- The creamy center: Peanut butter, butter, and powdered sugar create a rich, sweet filling that holds its shape.
- The crunchy pieces: Crushed Butterfinger candy adds a crisp, flaky bite and a recognizable peanut butter-candy flavor.
- The chocolate shell: A smooth chocolate coating surrounds the filling, providing a satisfying snap and balancing the sweetness.
When the balls are chilled properly, the filling remains firm while the chocolate creates a neat outer shell. Allowing the candies to sit at room temperature for a few minutes before serving makes the centers a little softer and easier to bite into.
Helpful Tips for the Best Results
- Use creamy peanut butter: This helps create a smooth, cohesive filling. Very oily natural peanut butter may make the mixture too soft.
- Crush the candy carefully: Keep some small crunchy pieces instead of turning all the candy into powder.
- Chill before dipping: Warm or soft centers can fall apart in melted chocolate.
- Use melting wafers for convenience: They generally produce a smoother coating than ordinary chocolate chips.
- Work in batches: Keep some balls in the refrigerator while dipping the others.
- Decorate quickly: Add crushed candy or holiday sprinkles while the coating is still wet.
- Adjust the sweetness: Since Butterfinger candy and powdered sugar are both sweet, a small pinch of salt in the filling can help balance the flavors.
Delicious Variations

Dark Chocolate Butterfinger Balls
Use dark chocolate instead of milk chocolate for a richer coating that balances the sweet filling.

White Chocolate Holiday Balls
Dip the centers in white chocolate and decorate with crushed candy or festive sprinkles.

Christmas Party Bites
Make smaller balls and decorate them with red and green sprinkles for holiday dessert platters.

Extra-Crunchy Butterfinger Balls
Add a little more crushed Butterfinger to the filling for an even crunchier texture.
Storage and Make-Ahead Instructions
- Refrigerator: Store in an airtight container for up to 1–2 weeks, keeping them chilled for the best texture.
- Freezer: Freeze in a single layer until solid, then transfer to a freezer-safe container for up to 2 months for best quality.
- For serving: Thaw frozen candies in the refrigerator before serving. Let them stand briefly at room temperature if you prefer a softer center.
- For gifting: Place the candies in small paper candy cups inside a festive tin or food-safe gift box. Keep them cool during transport.
Because these candies contain peanut butter and may be made with other allergen-containing ingredients, label them clearly when sharing with friends, family, or guests.
How to Make 100 Butterfinger Balls for Christmas
If you’re preparing these for a large family gathering or Christmas gifts, simply multiply the ingredients by the number of batches you need.
| Ingredient | One batch | Two batches |
|---|---|---|
| Creamy peanut butter | 1 cup | 2 cups |
| Butter | 4 tbsp | 8 tbsp |
| Powdered sugar | 2 cups | 4 cups |
| Vanilla extract | 1 tsp | 2 tsp |
| Crushed Butterfinger | 1 cup | 2 cups |
| Chocolate coating | 2 cups | 4 cups |
For approximately 100 candies, plan on making two to three batches, depending on the size of each ball. Prepare them a day or two ahead to make holiday cooking less stressful.
Conclusion
These homemade Butterfinger Balls are everything a Christmas candy should be: easy to prepare, rich in flavor, wonderfully crunchy, and coated in delicious chocolate. You don’t need special equipment or advanced candy-making skills to create a treat that looks beautiful on a holiday platter.
Whether you make a small batch for your family or prepare 100 or more to share with friends and neighbors, these little candies are sure to bring smiles to the table. Make them ahead, decorate them for the season, and enjoy a homemade treat that feels special with every bite.
For the Butterfinger Ball Lovers ❤️
If you love the combination of peanut butter, crunchy candy, and chocolate, this recipe deserves a place in your Christmas tradition. Serve the balls with coffee, hot cocoa, or a glass of cold milk, or add them to a Christmas cookie exchange alongside fudge, peanut butter blossoms, and homemade truffles.
They also make thoughtful homemade gifts because they’re easy to portion, package, and share.
A little holiday sweetness goes a long way! Make a batch, share them with someone you love, and enjoy the smiles that follow.
Recipe reminder: Chill the filling before dipping, use gently melted chocolate, and keep the finished candies refrigerated until serving. Enjoy your homemade Butterfinger Balls! 🎄🍫