Introduction
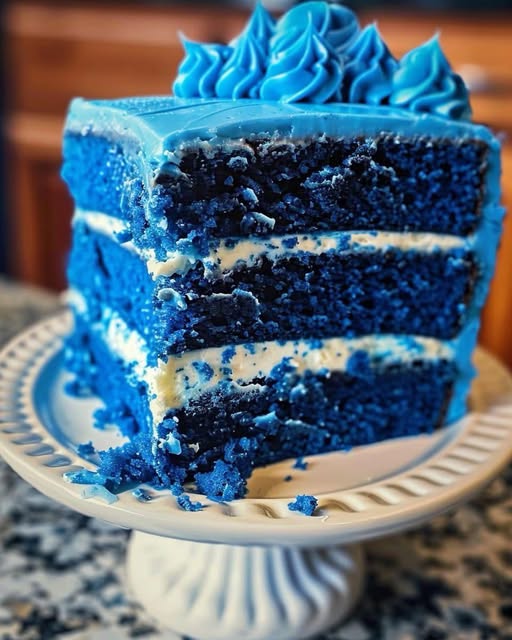
The Blue Velvet Cake is a stunning variation of the beloved red velvet cake, featuring the same tender crumb and subtle cocoa flavor but with a striking royal blue hue. Perfect for birthdays, baby showers, or themed celebrations, this cake combines the richness of buttermilk and oil with just a hint of cocoa, creating a moist, flavorful dessert that’s as visually impressive as it is delicious.
Unlike traditional red velvet cakes, which rely on food coloring for their signature look, this version uses royal blue gel food coloring to achieve a deep, vibrant shade. The addition of vinegar enhances the cake’s tenderness, while buttermilk ensures a delicate tanginess. Whether frosted with classic cream cheese frosting or a simple vanilla buttercream, this cake is sure to be the centerpiece of any dessert table.
Ingredients
For the Cake
- 2½ cups all-purpose flour – Provides structure
- 2 tbsp unsweetened cocoa powder – Adds depth without overpowering
- 1½ tsp baking powder – Ensures a light, airy texture
- ½ tsp baking soda – Reacts with vinegar for lift
- ½ tsp salt – Balances sweetness
- 1½ cups granulated sugar – Sweetens and tenderizes
- 1 cup vegetable oil – Keeps the cake moist
- 2 large eggs – Binds ingredients and adds richness
- 1 tsp vanilla extract – Enhances flavor
- 1 cup buttermilk (room temperature) – Adds tang and tenderness
- 1 tbsp white vinegar – Activates baking soda
- 1–2 tsp royal blue gel food coloring – Creates vibrant color
For the Frosting (Optional, but Recommended)
- 8 oz cream cheese, softened
- ½ cup unsalted butter, softened
- 4 cups powdered sugar
- 1 tsp vanilla extract
- 1–2 tbsp milk (if needed for consistency)
Step-by-Step Instructions
1. Preheat & Prep
- Preheat oven to 350°F (175°C).
- Grease and flour two 9-inch round cake pans or line with parchment paper.
2. Mix Dry Ingredients
- In a bowl, whisk together flour, cocoa powder, baking powder, baking soda, and salt.
3. Combine Wet Ingredients
- In a large mixing bowl, beat sugar, oil, eggs, and vanilla until smooth.
- Add buttermilk and mix well.
- Stir in food coloring until the batter is evenly colored.
4. Incorporate Dry Ingredients
- Gradually add the dry ingredients to the wet mixture, mixing just until combined.
- Stir in vinegar (the batter will slightly bubble).
5. Bake the Cake
- Divide batter evenly between the prepared pans.
- Bake for 25–30 minutes, or until a toothpick inserted in the center comes out clean.
- Cool in pans for 10 minutes, then transfer to a wire rack to cool completely.
6. Prepare the Frosting (Optional)
- Beat cream cheese and butter until smooth.
- Gradually add powdered sugar and vanilla, mixing until fluffy.
- If needed, add milk for desired consistency.
7. Assemble & Decorate
- Once cooled, frost the cake with cream cheese frosting or your preferred icing.
- For a dramatic effect, sprinkle with edible glitter or white chocolate shavings.
Tips for Success
✔ Use gel food coloring for a deep, vibrant blue (liquid coloring may dilute the batter).
✔ Room-temperature ingredients ensure a smooth batter.
✔ Don’t overmix—just combine until no flour streaks remain.
✔ For extra moisture, brush cake layers with simple syrup before frosting.
Variations
- Lemon Blue Velvet: Add 1 tbsp lemon zest to the batter for a citrus twist.
- White Chocolate Frosting: Swap cream cheese for white chocolate buttercream.
- Ombre Effect: Use varying shades of blue batter for layered color.
Conclusion
This Blue Velvet Cake is a showstopping dessert that combines the best qualities of a classic velvet cake with a bold, modern twist. Its moist, tender crumb and subtle cocoa flavor make it a crowd-pleaser, while its striking color ensures it stands out on any dessert table.
Perfect for themed parties, gender reveals, or simply as a fun baking project, this cake proves that a little creativity can transform a traditional recipe into something extraordinary. Whether you stick with classic cream cheese frosting or experiment with different icings, this Blue Velvet Cake is guaranteed to impress.
Storage Tip: Keep refrigerated for up to 5 days, or freeze unfrosted layers for up to 2 months. Enjoy!