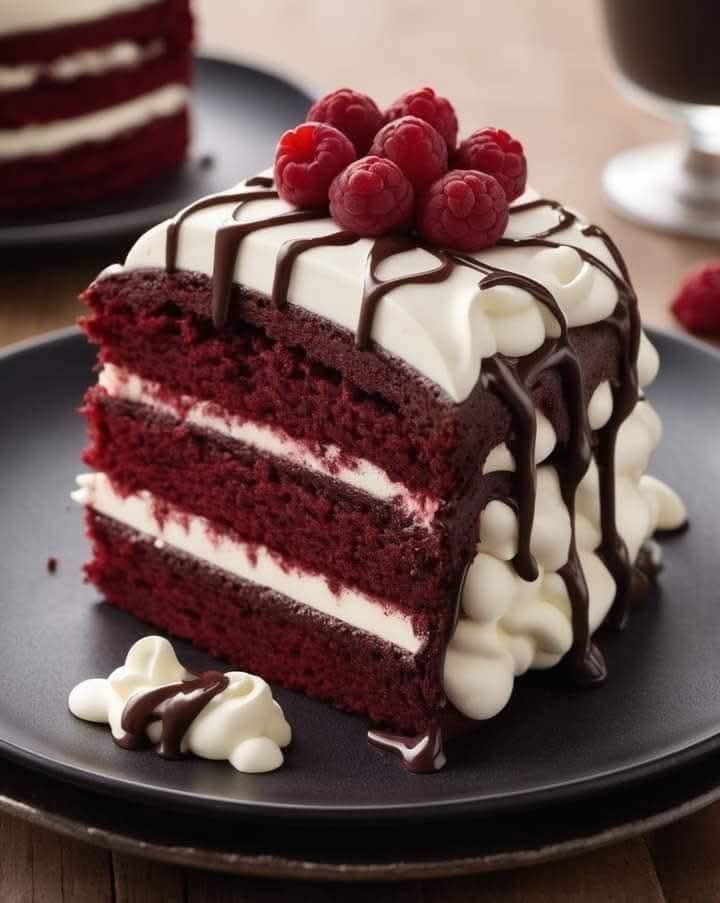
Introduction: A Match Made in Dessert Heaven
Few desserts can rival the luxurious combination of flavors and textures found in this Red Velvet Oreo Cheesecake. This showstopping creation brings together three beloved dessert elements: the rich creaminess of cheesecake, the distinctive taste of red velvet, and the satisfying crunch of Oreo cookies, all crowned with an elegant chocolate drip that elevates it to professional patisserie status. The result is a visually stunning dessert that delivers extraordinary taste with every forkful.
What makes this recipe truly special is its perfect harmony of components. The Oreo cookie crust provides a sturdy, flavorful base that contrasts beautifully with the velvety smooth cheesecake layer. The subtle cocoa notes of the red velvet cheesecake pair exquisitely with the chocolate drip, while the crushed Oreos mixed into the batter add delightful textural surprises. This dessert is ideal for special occasions when you want to impress, yet the clear instructions make it achievable for home bakers of all skill levels.
Ingredients
For the Oreo Crust:
- 1 ½ cups Oreo cookie crumbs (about 20 cookies, filling included)
- ½ cup unsalted butter, melted
For the Red Velvet Cheesecake Layer:
- 32 oz (4 blocks) cream cheese, softened
- 1 cup granulated sugar
- 3 tablespoons all-purpose flour
- 4 large eggs
- 1 teaspoon vanilla extract
- ¼ cup unsweetened cocoa powder
- Red food coloring (gel preferred)
- ½ cup crushed Oreos
For the Chocolate Drip:
- 1 cup heavy cream
- 8 ounces semisweet chocolate chips
For Garnish:
- Whole Oreo cookies
Step-by-Step Instructions
1. Prepare the Oreo Crust:
Preheat oven to 325°F (165°C). Combine Oreo crumbs with melted butter until evenly moistened. Press firmly into the bottom and slightly up the sides of a 9-inch springform pan. Bake for 10 minutes, then set aside to cool while preparing the filling.
2. Make the Red Velvet Cheesecake Batter:
In a stand mixer, beat cream cheese until completely smooth. Gradually add sugar and flour, scraping down sides as needed. Add eggs one at a time, mixing just until incorporated. Stir in vanilla extract. Remove about 1 cup of plain batter and set aside. To the remaining batter, add cocoa powder and red food coloring (about 1-2 teaspoons gel color) until desired rich red color is achieved. Gently fold in crushed Oreos.
3. Create the Swirled Effect:
Pour half of the red velvet batter over the cooled crust. Dollop with spoonfuls of reserved plain batter, then use a knife to gently swirl. Repeat with remaining batters. This creates a beautiful marbled effect when sliced.
4. Bake the Cheesecake:
Place springform pan in a larger baking dish. Add hot water to come halfway up the sides of the springform (water bath). Bake for 60-75 minutes until edges are set but center still jiggles slightly. Turn off oven, crack door open, and let cool inside for 1 hour. Remove and cool completely at room temperature, then refrigerate at least 6 hours or overnight.
5. Prepare the Chocolate Drip:
Heat cream until steaming but not boiling. Pour over chocolate chips in a heatproof bowl. Let sit 2 minutes, then stir until completely smooth. Cool to room temperature until slightly thickened but still pourable (about 85°F).
6. Assemble the Final Dessert:
Remove chilled cheesecake from springform. Pour chocolate ganache around the edges, allowing it to drip down the sides. Fill the top center with remaining ganache, smoothing gently. Garnish with whole Oreo cookies placed strategically around the top edge. Chill 30 minutes to set the ganache before serving.
Why This Recipe Works
The Oreo crust provides structural integrity and complementary chocolate flavor without requiring additional sugar. The water bath baking method ensures the cheesecake cooks evenly without cracking. The combination of plain and red velvet batters creates visual interest while allowing both flavors to shine. The chocolate drip adds professional polish while enhancing the overall chocolate experience.
Expert Tips
For clean slices, dip your knife in hot water and wipe between cuts. If your cheesecake develops cracks, the chocolate drip will cover them beautifully. For neater drips, test the ganache consistency on the side of the pan before applying. The cheesecake can be made 2-3 days ahead – the flavors actually improve with time.
Serving and Storage Suggestions
Serve chilled but not cold for optimal texture and flavor. Store covered in refrigerator for up to 5 days. The undecorated cheesecake freezes well for up to 3 months – add the chocolate drip after thawing. For individual servings, cut into slices before freezing and drizzle with warmed ganache when ready to serve.
Conclusion: The Ultimate Celebration Dessert
This Red Velvet Oreo Cheesecake with chocolate drip represents the pinnacle of dessert innovation, where classic flavors meet contemporary presentation. The dramatic contrast between the vibrant red interior and dark chocolate exterior makes it as visually stunning as it is delicious. While impressive enough for professional bakeries, the clear instructions make it accessible for home bakers to recreate this masterpiece.
More than just a dessert, this creation is an experience – from the first glimpse of its elegant presentation to the last bite combining creamy cheesecake, crunchy Oreos, and rich chocolate. Perfect for marking life’s special moments, it’s guaranteed to become the most requested recipe in your repertoire. The techniques learned here – from water bath baking to ganache preparation – are valuable skills that translate to countless other desserts, making this recipe both a spectacular end product and an excellent skill-builder.
